Leggings…..Which one?
Don’t ever let a person tell you that leggings aren’t pants. You don’t need that negativity in your life…
From someone who is absolutely right
When I was younger I never worned leggings. Well the youth doesn’t know everything right?! 🙂
But, I changed my mind and when I tried on my first one… It was love. They are an awesome base for your wardrobe and I really like it how you can style them.
But, when you want to make your own leggings and you are start searching for a pattern, you´ll find out that almost any pattern company has his own leggings pattern.
We from The Fitting Experiment Bloggers decided to do a test. We all had our own motivation where to write about, so to get a complete overview, read the other blogs too. (scroll down to the links)
We all tested the G.O.A.T. Leggings from Rad Patterns,
and we all tested the 20K Leggings from Max and Meena
And I compared it with my favorite leggings pattern The Urban Legs Shorts and Legging Pattern from Ellie and Mac (aff.link)
The G.O.A.T. pattern is a paid pattern, so is the one from Ellie and Mac. The 20K leggings pattern is available for free with a code when you join their Facebook group.
Well, when you where curious and you already scrolled to my pictures, you noticed that every leggings is fitting pretty well! I sewed all 3 exactly like the instructions and follow their size charts. I’ll compare the instructions, which fit I prefer, what I am missing, what I really like and how I style my leggings.
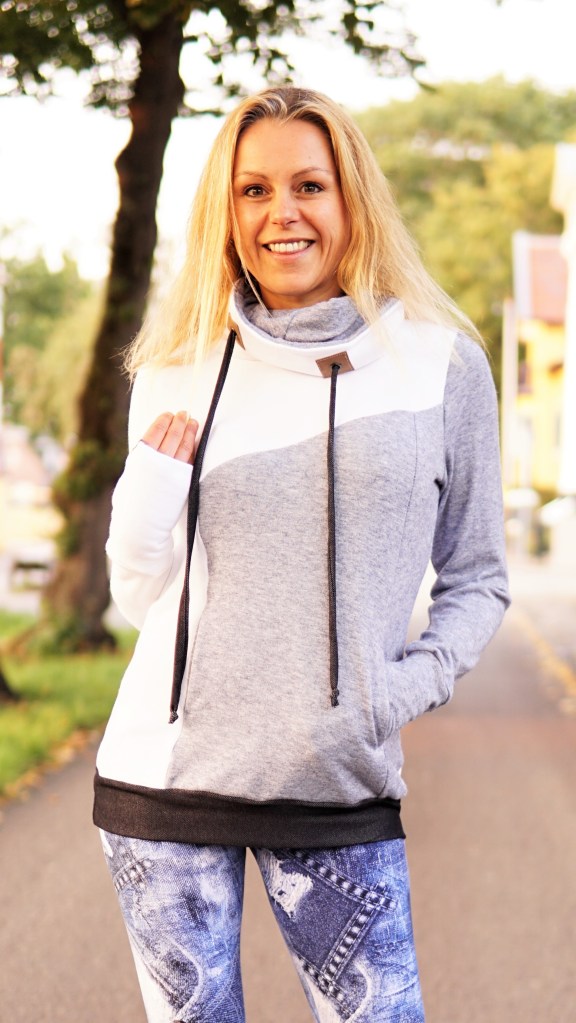
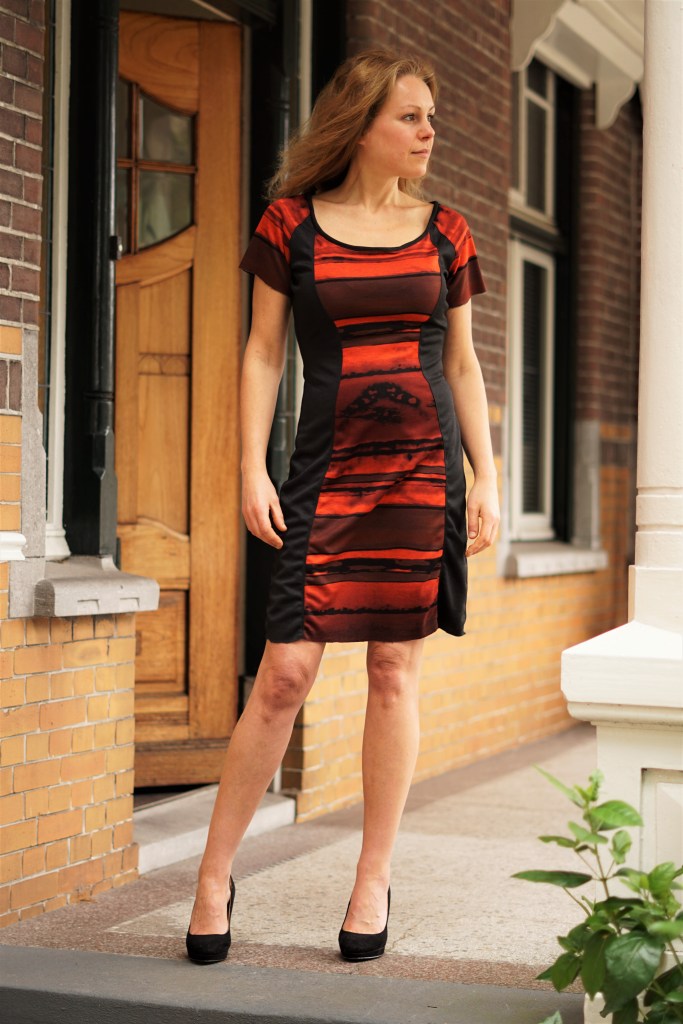
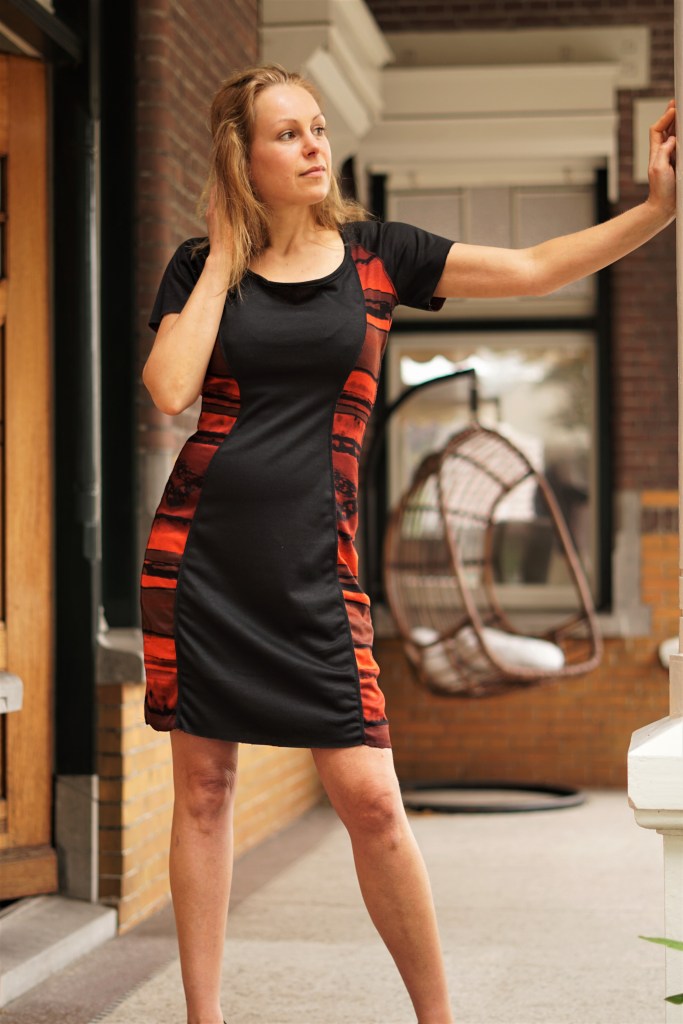
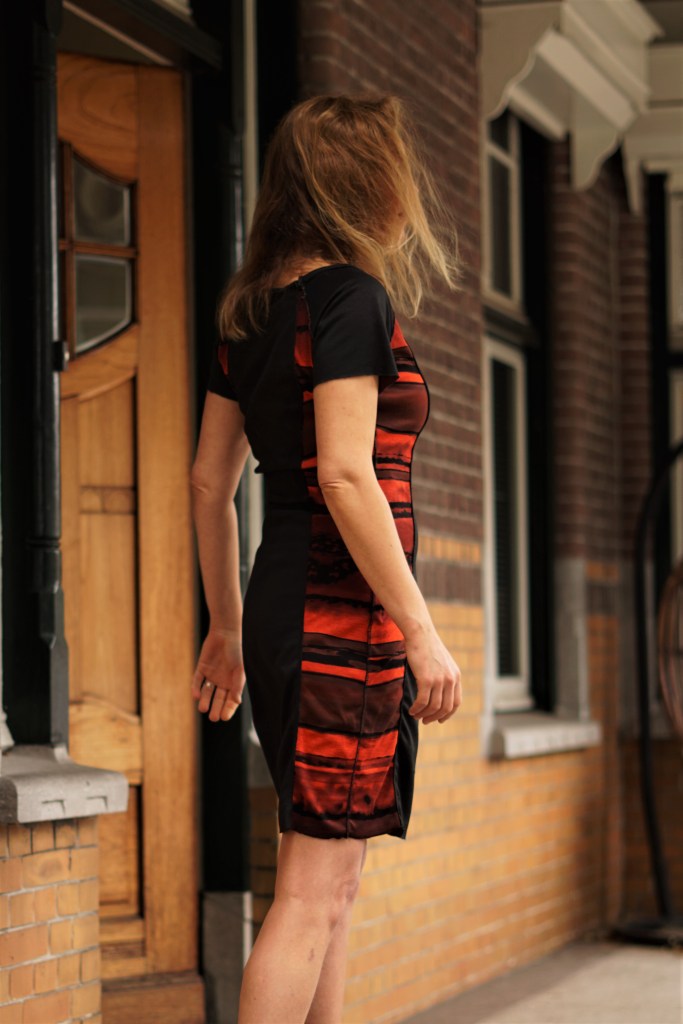
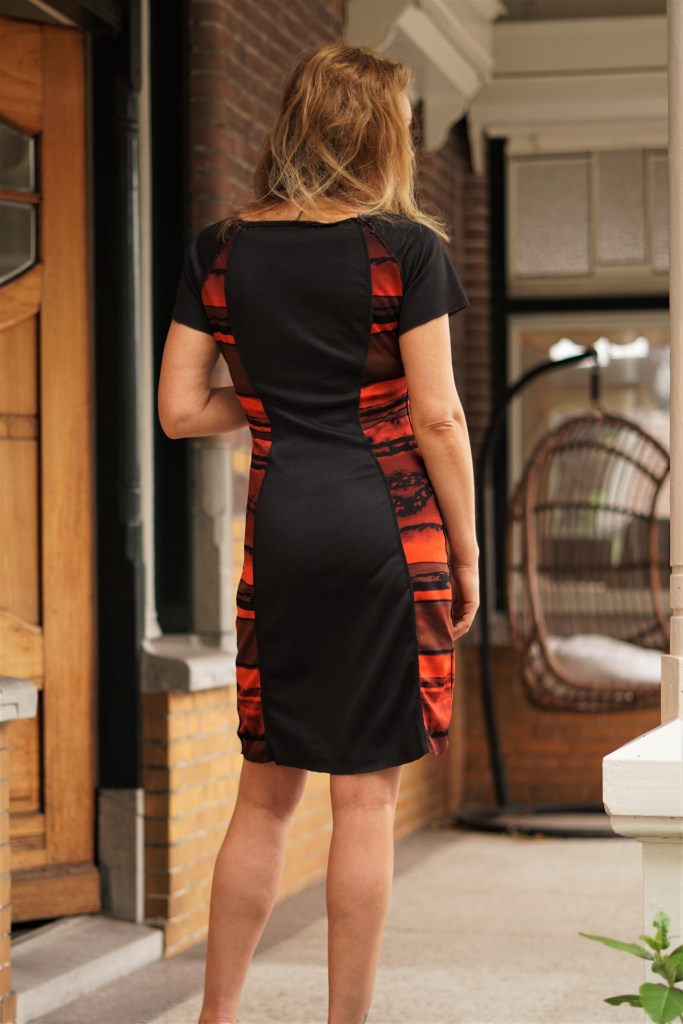
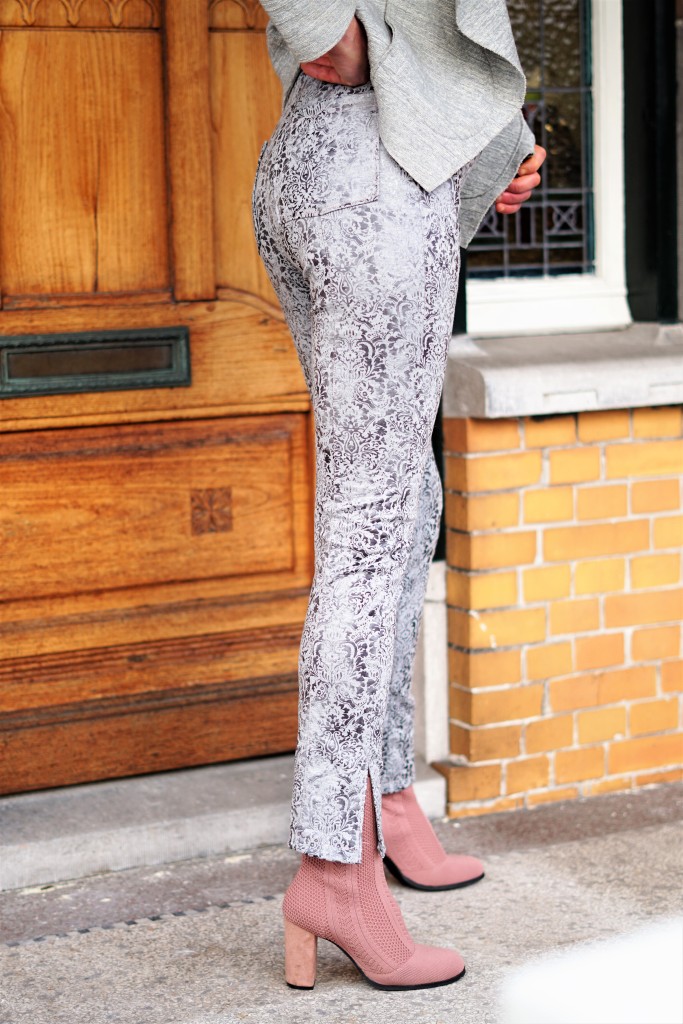
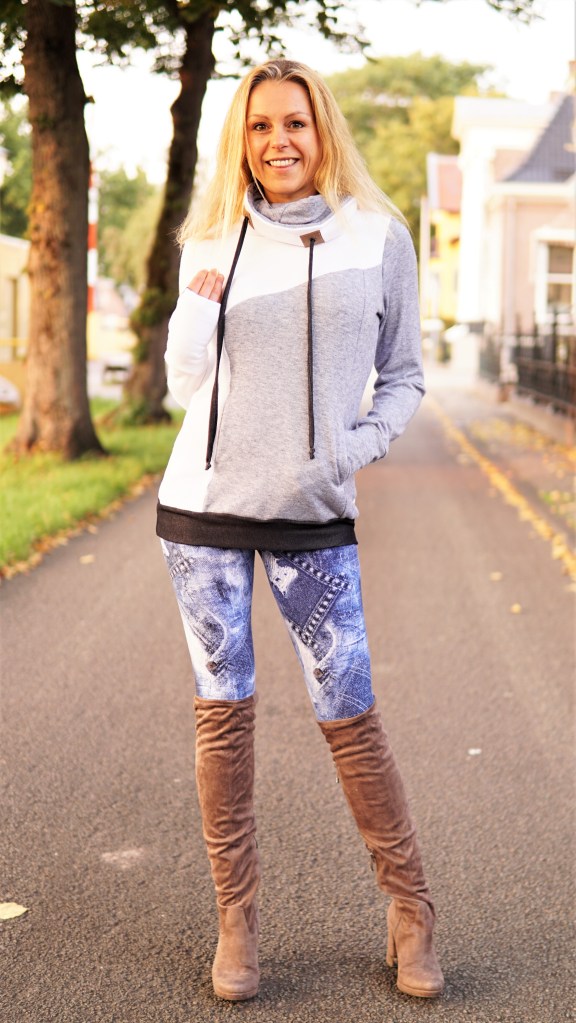
Let’s start with the G.O.A.T. Leggings from Rad Patterns.

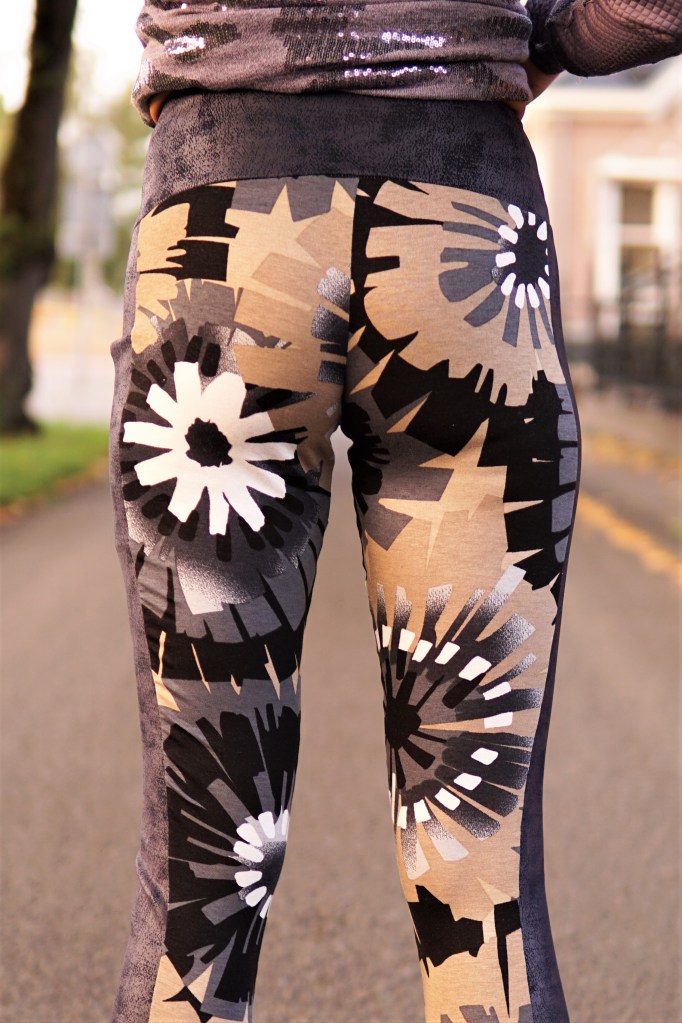


This pattern is the only one with color block. It doesn’t come without the color blocking. The color blocking gives you great options for making tons with a different look over and over again!
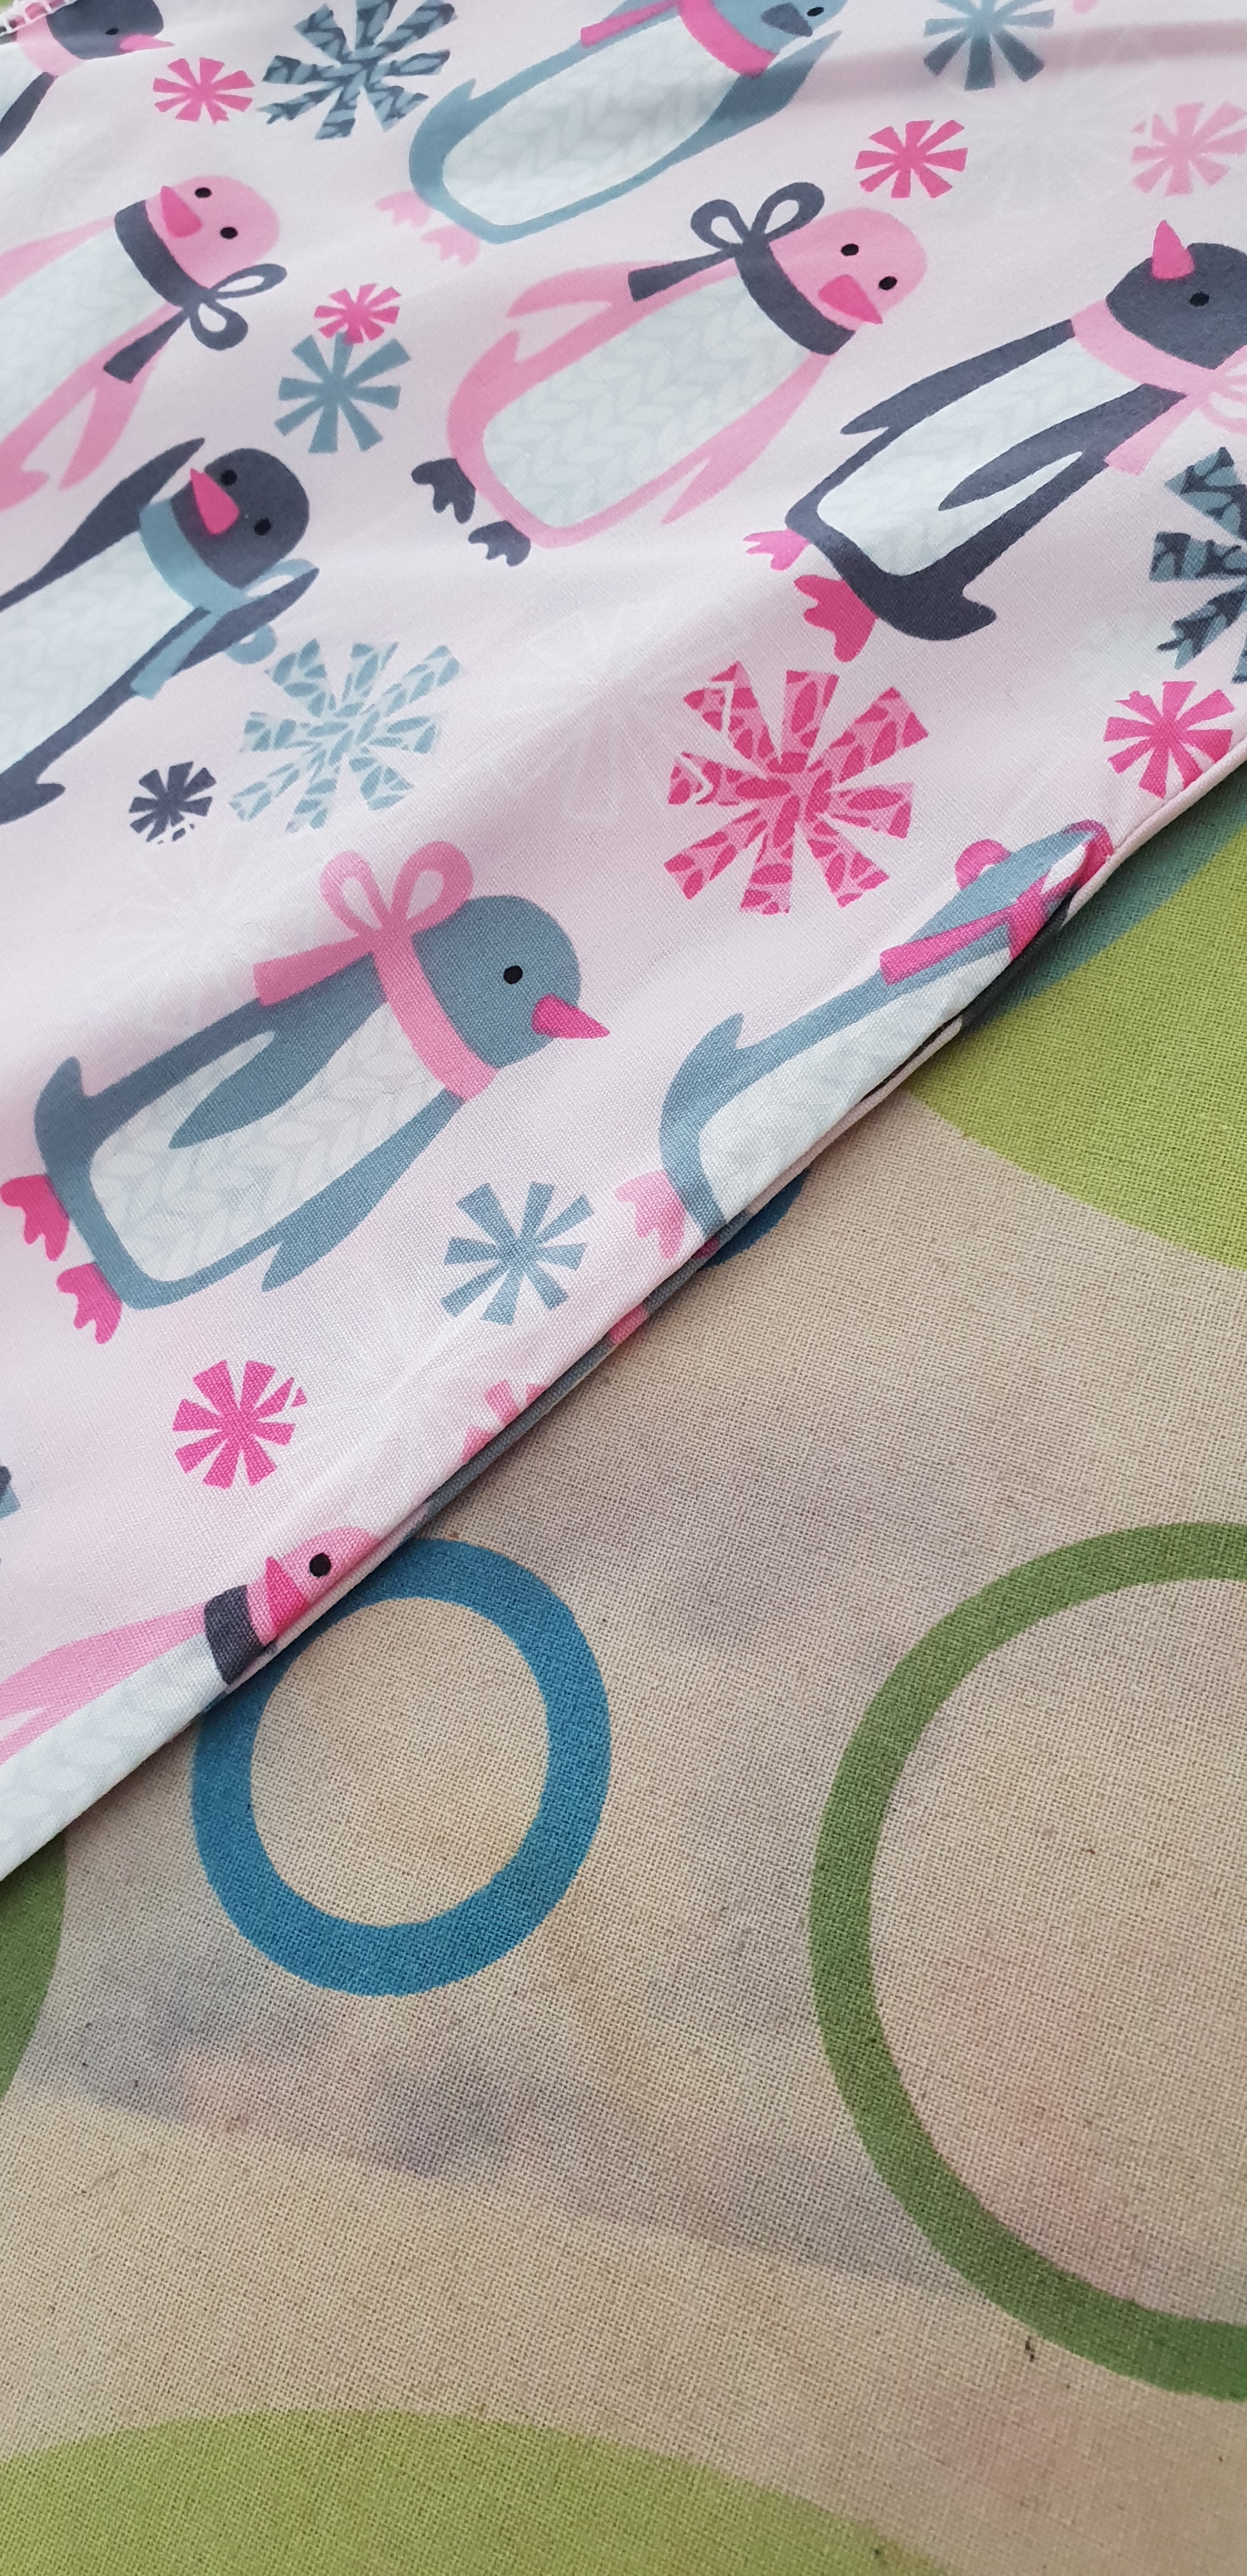
I used a viscose spandex as base and a ponte with leather look fabric for the stripe, pockets and the waistband.
Based on my hipsize and calf measurements (35.5″ and 13″) and a waist from 26″, I decided to print size XS and S, cut between those sizes for my legs and graded to size S for my waist. I am 5,5′ and as the instructions said the pattern is drafted for 5,7′ I thought: yippee, I don’t have to lengthen anymore! (The most length is in my legs)
But, after printing the pattern it was really looking short at me, I took my other leggings pattern I already made and layed it on top. There really was a difference in length. I went back to the instructions and checked if I missed an inseam chart, but there isn’t one, only stated: drafted for the length of 5,7. I double checked if I printed and taped correctly, which I had. To be honest I wasn’t really happy with that. When I wouldn’t have had another pattern to compare I would have waste quite a bit of fabric. To be said, sewing a pattern for the first time.. and especially from a company you don’t know well, a muslin is actually a must. But it is nicer when your muslin is wearable, right?
Anyways, I decided to lengthen the pattern with 3″ (yes, there was 3″ difference from crotch to ankle with my favorite pattern and the G.O.A.T.)
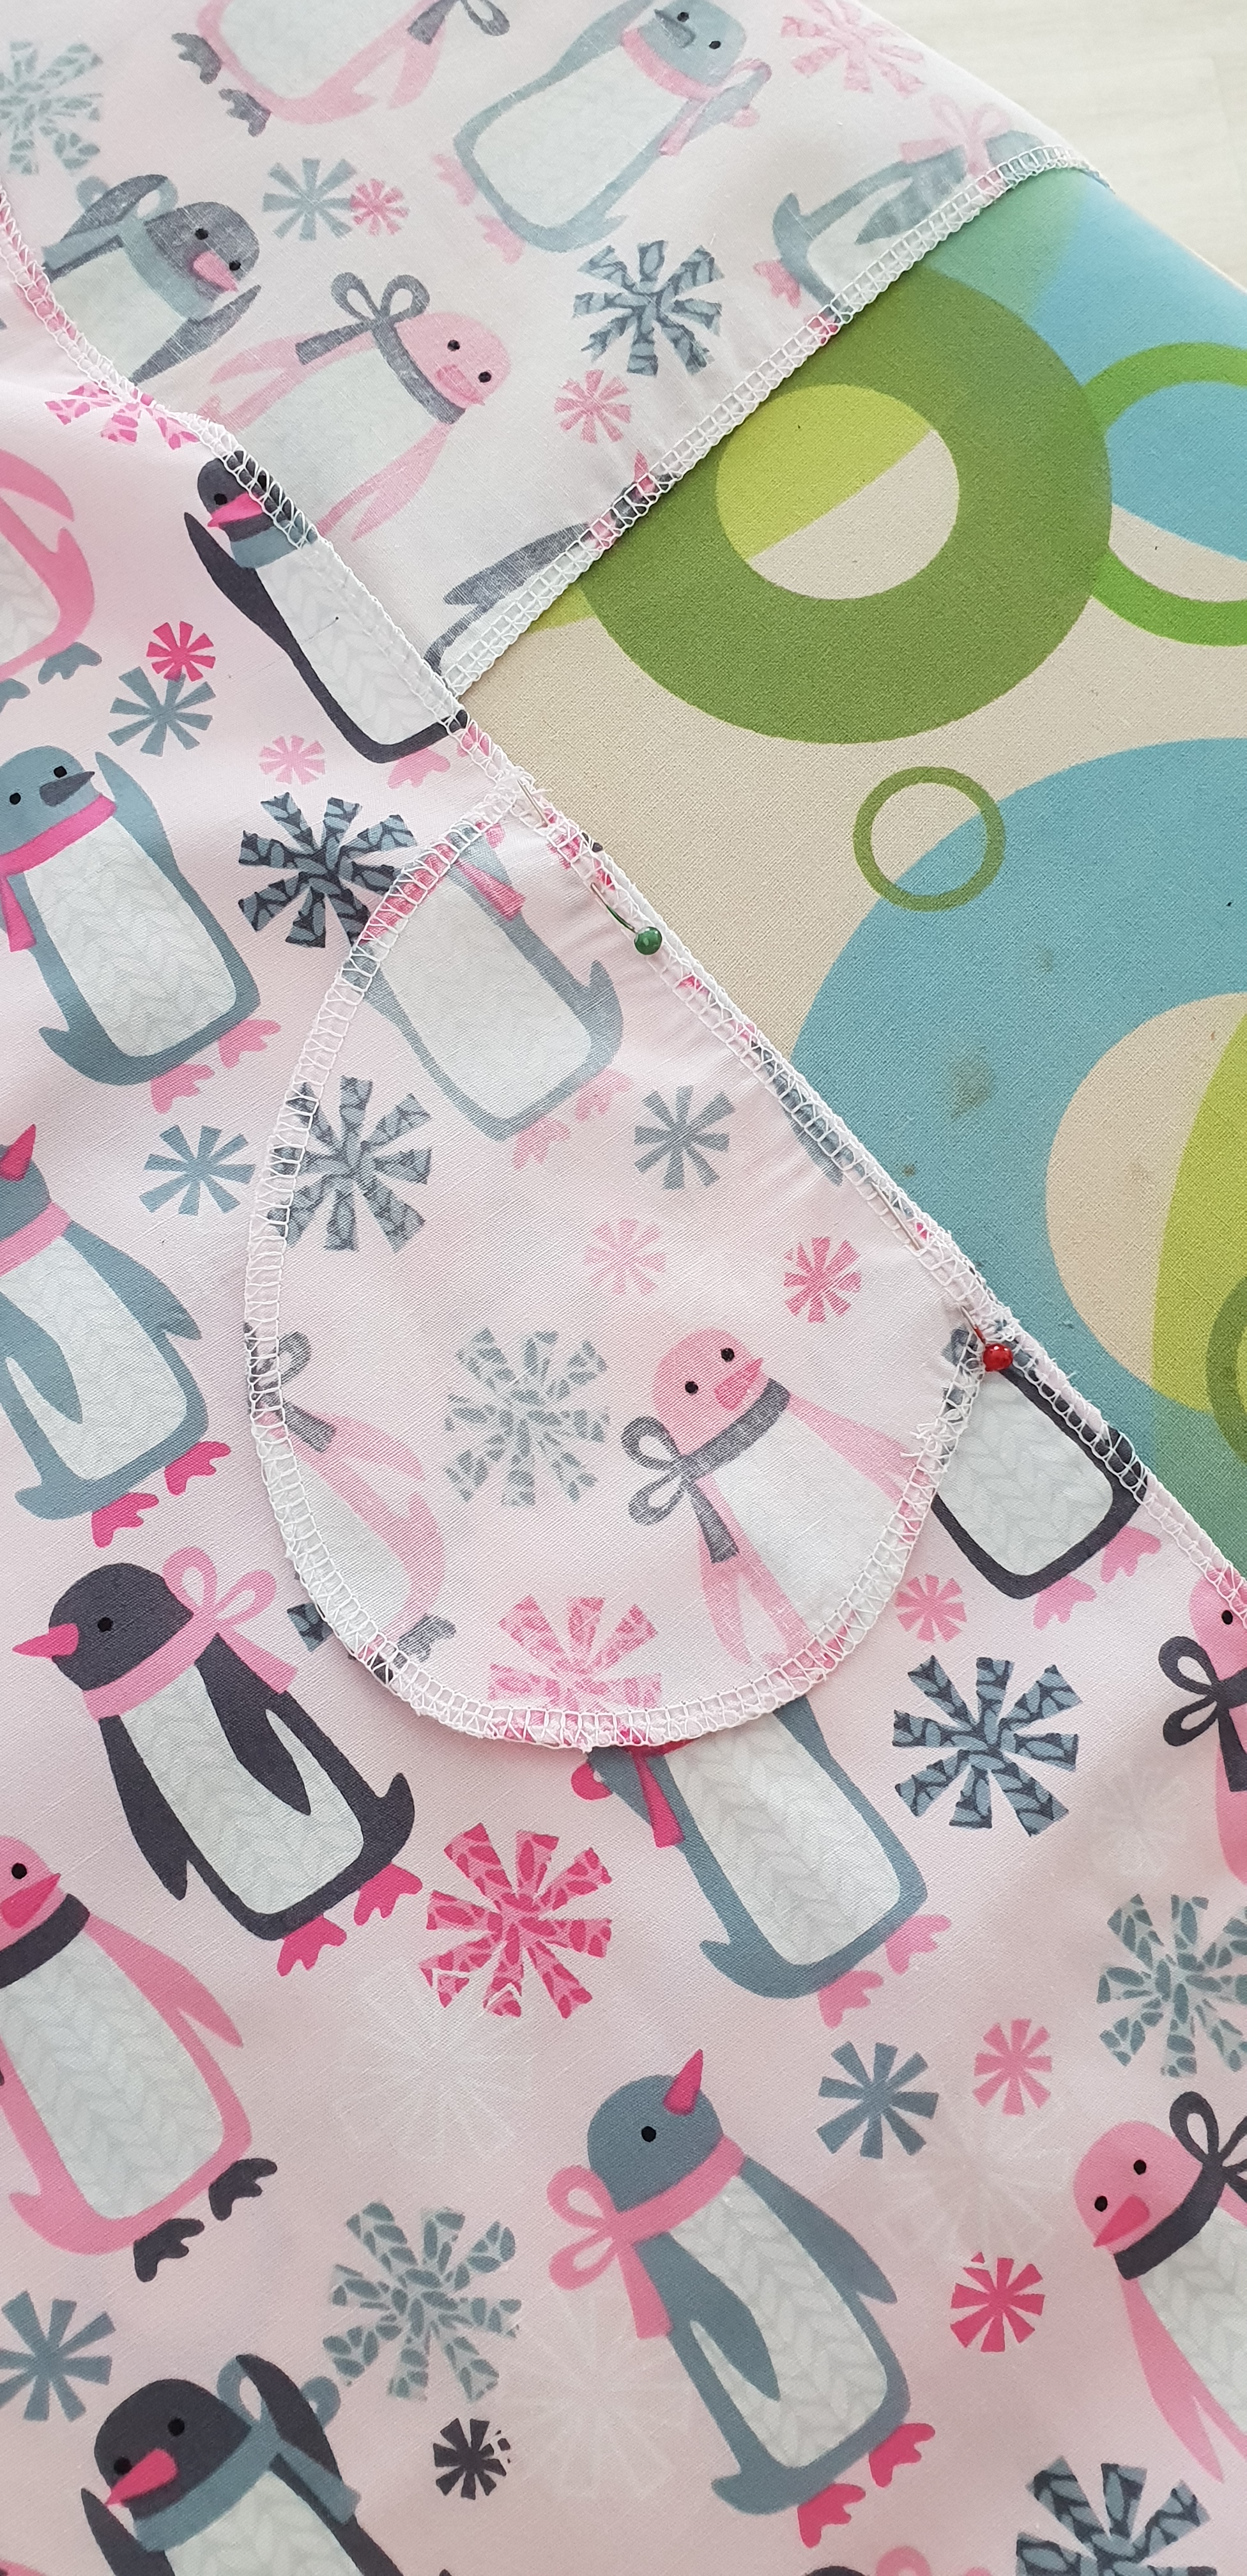
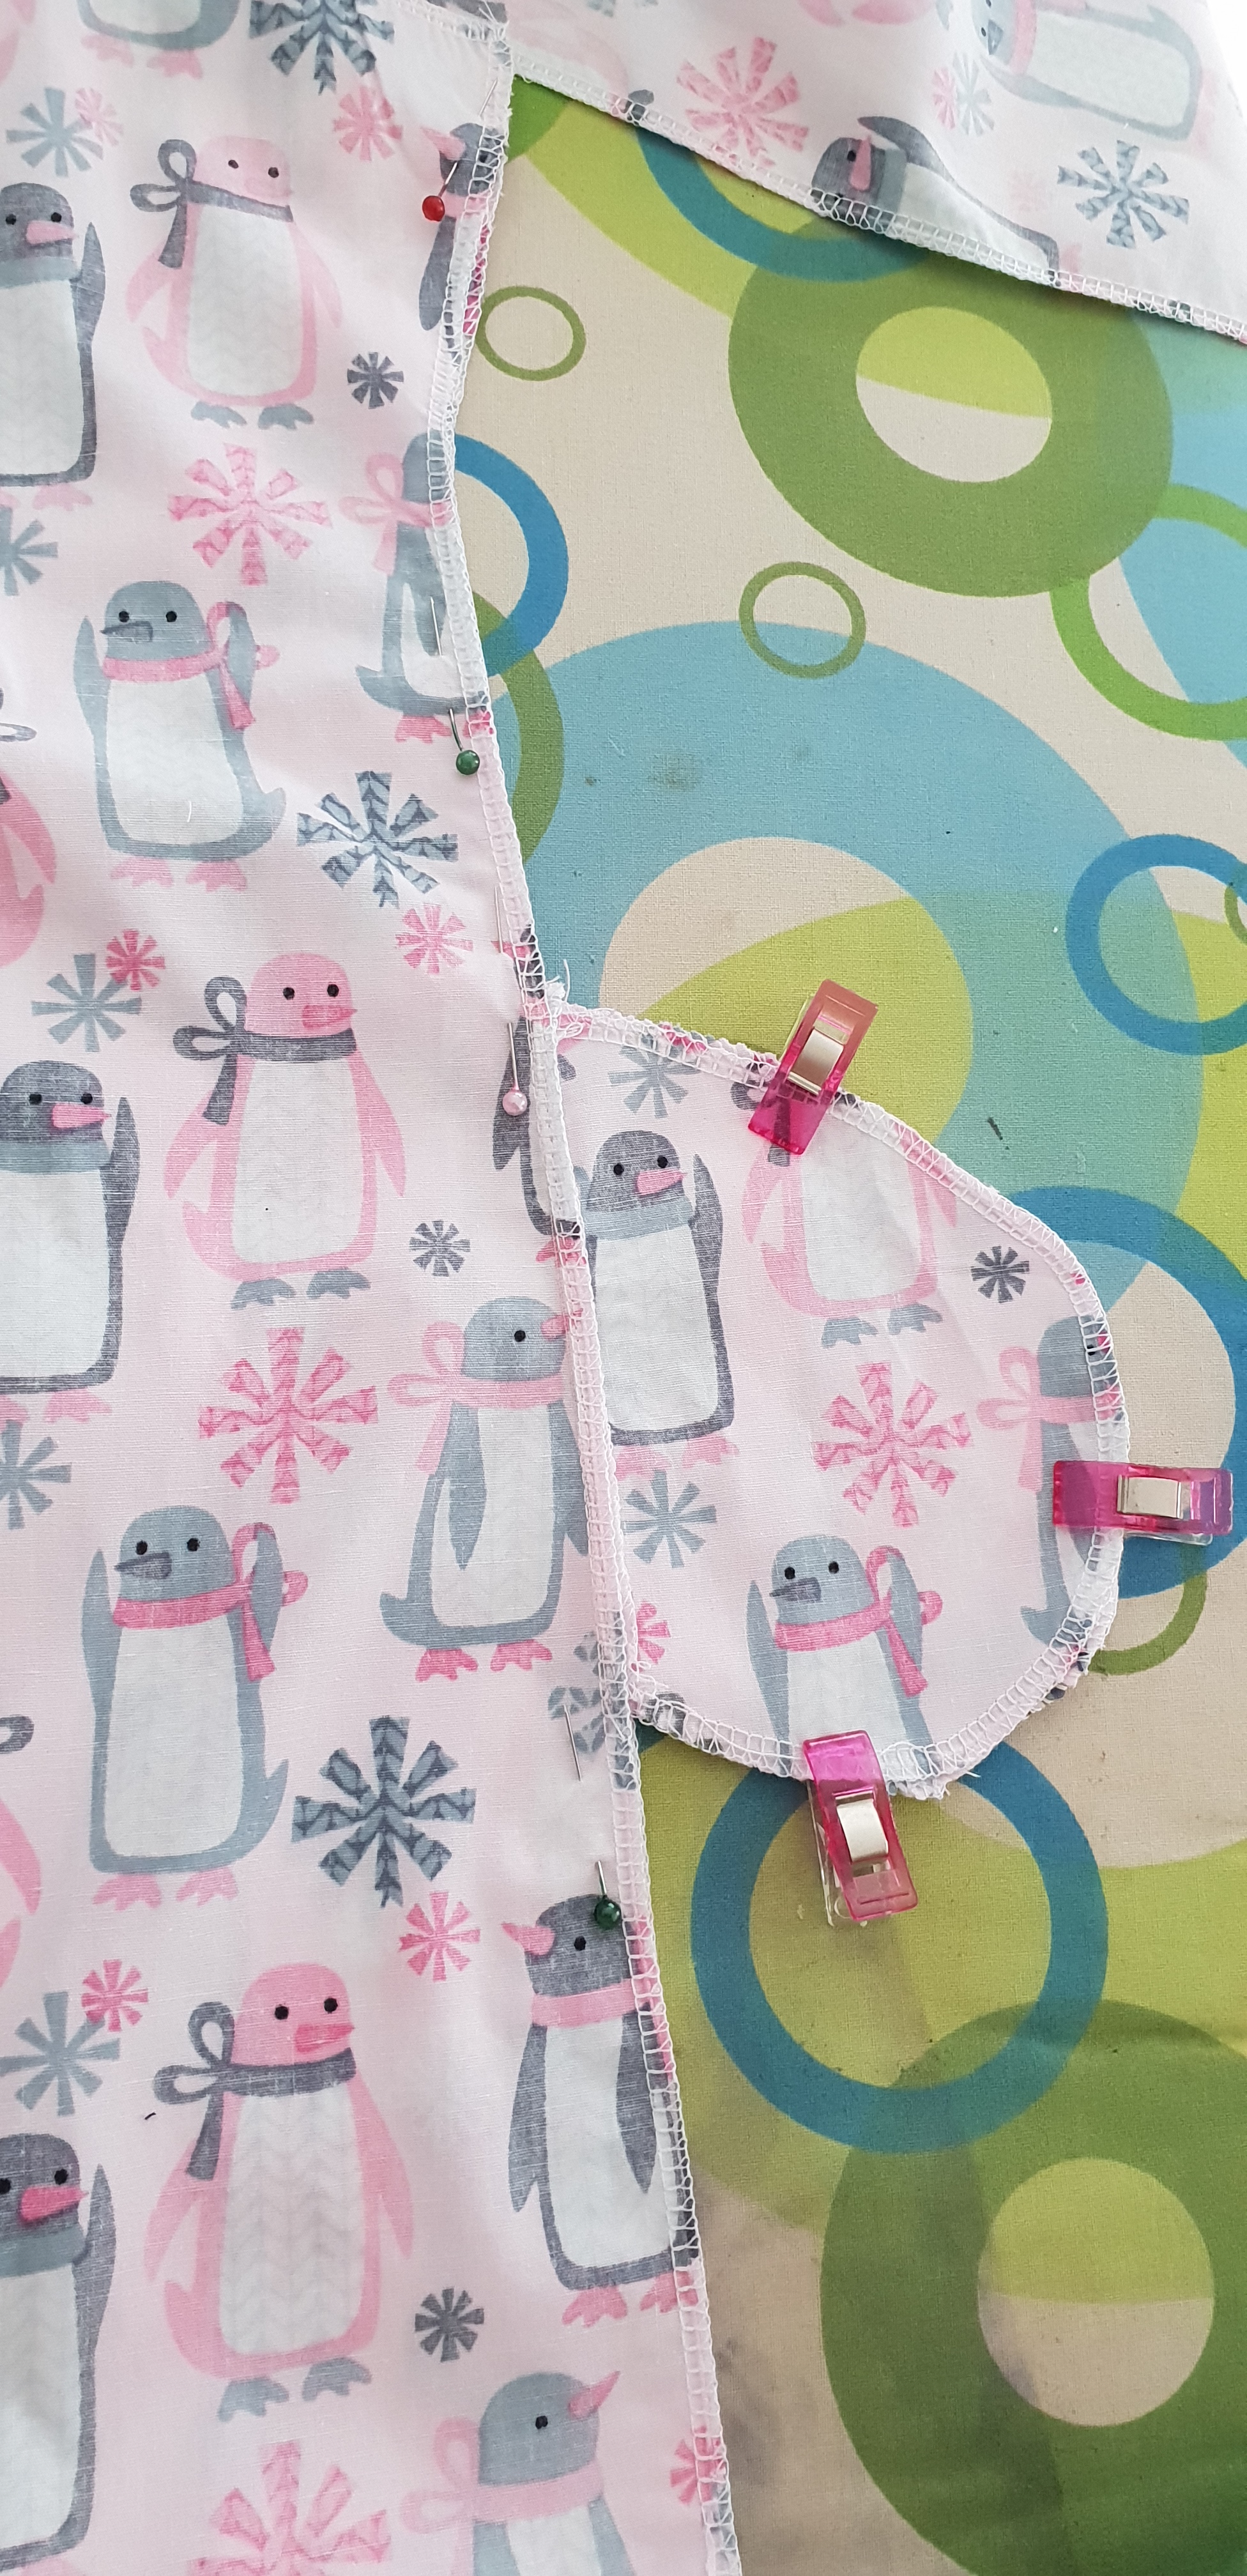
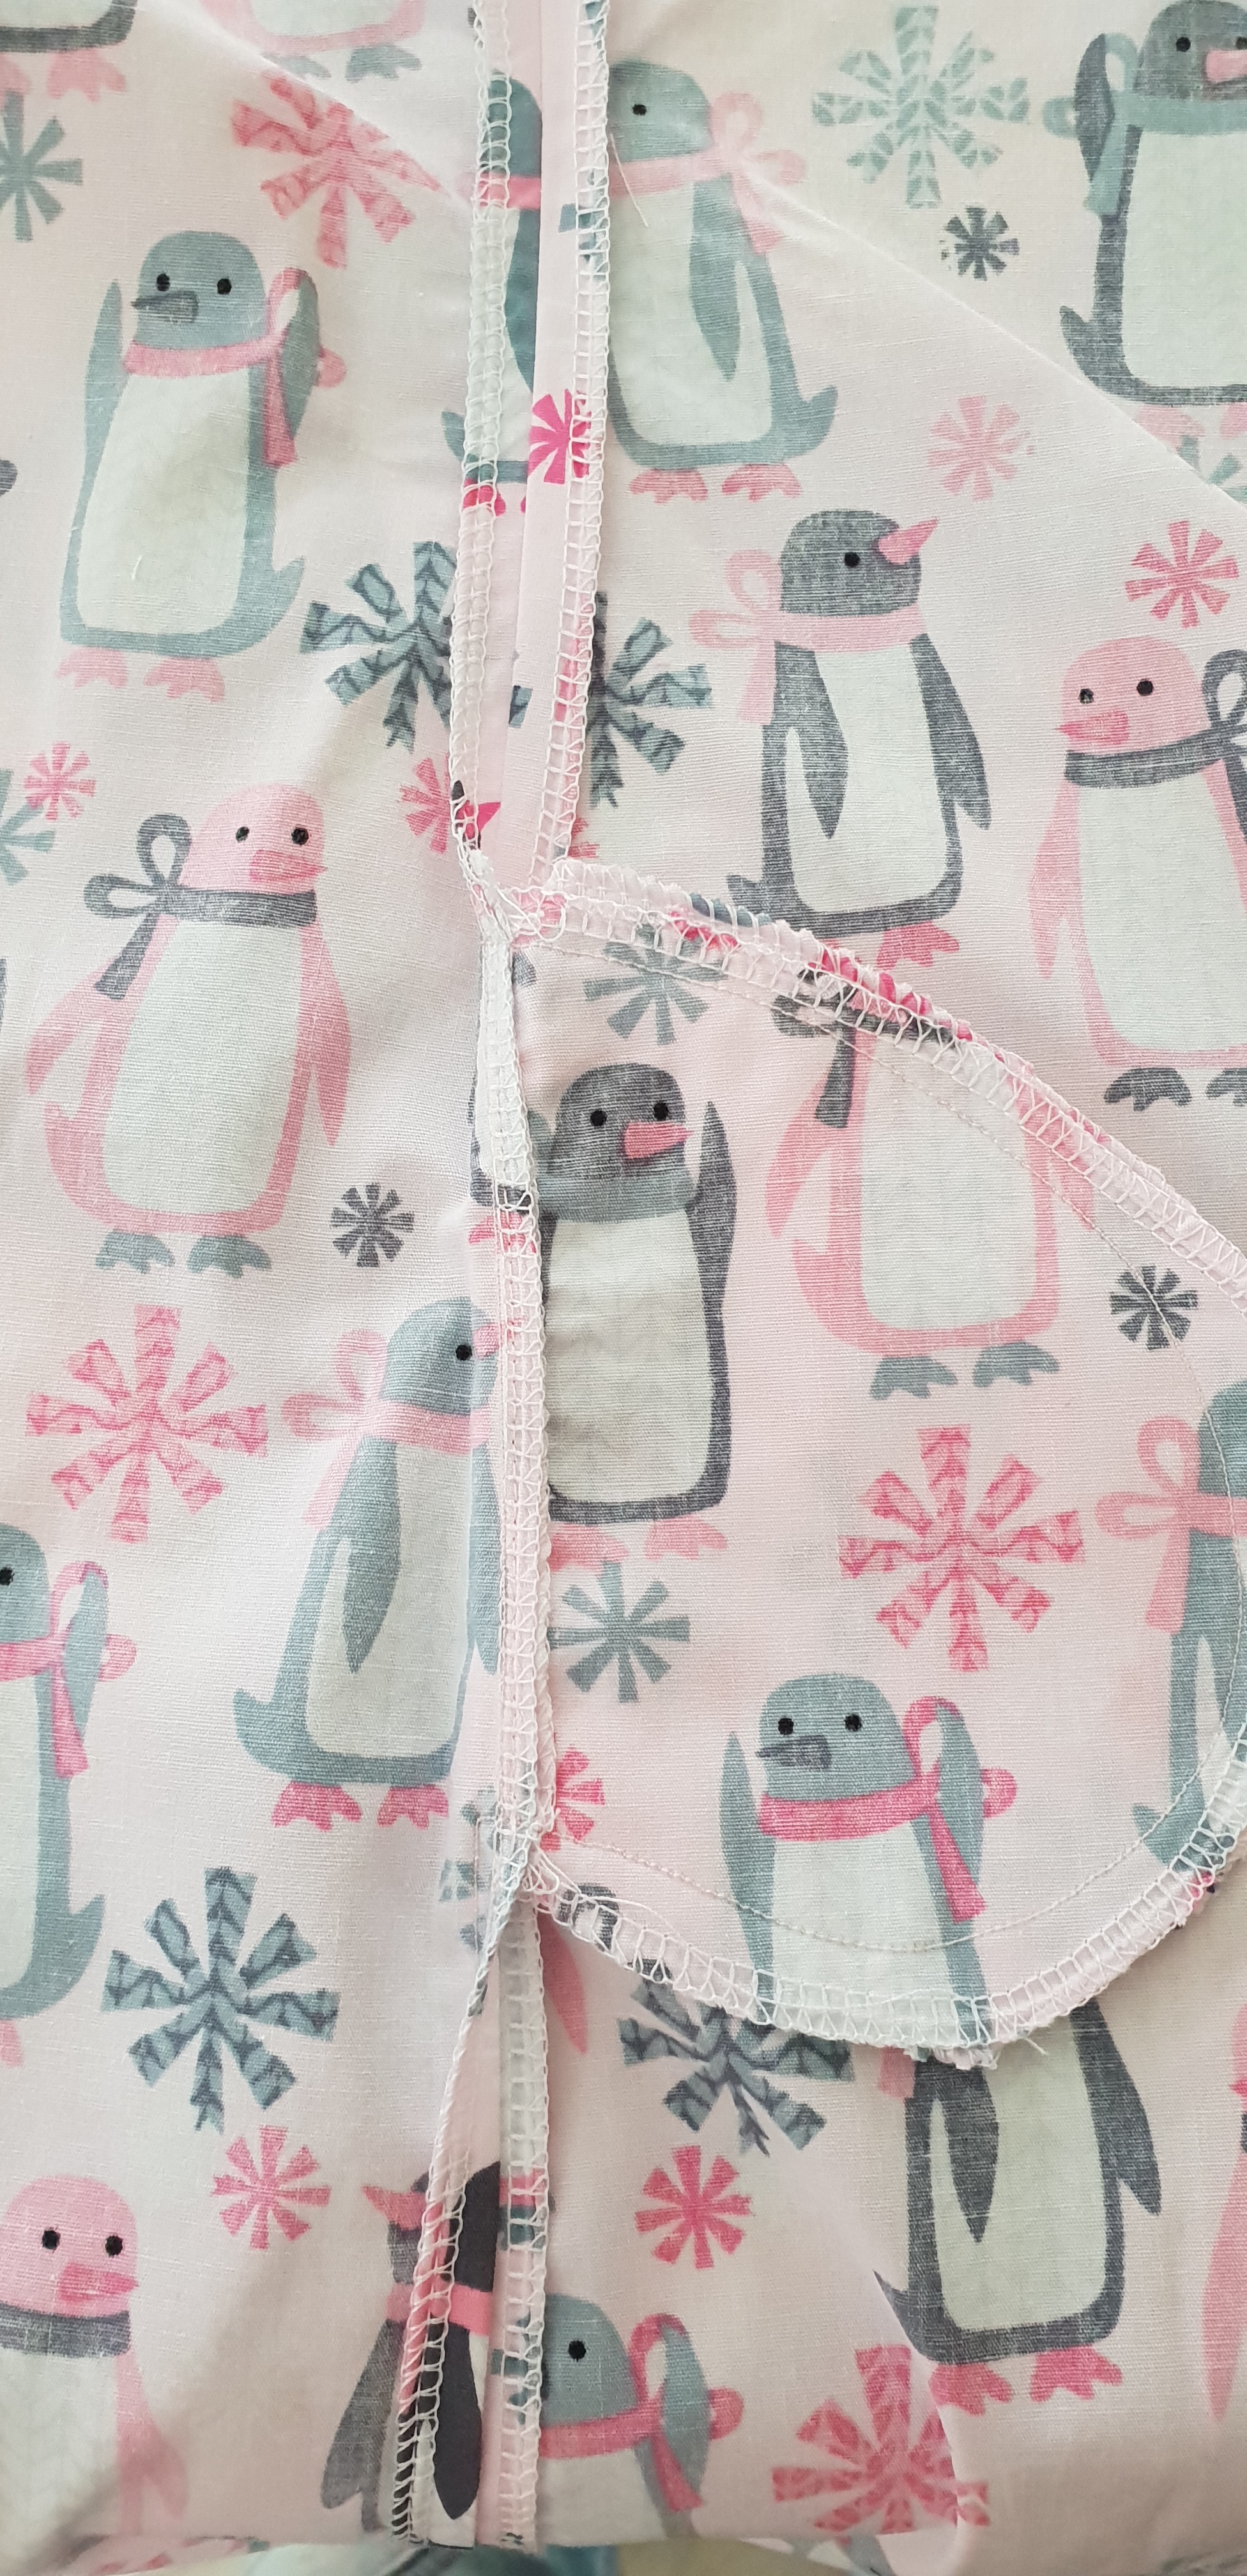
And I start cutting! It is the only pattern with a contoured waistband, which I prefer a lot and the option to sew a built in pocket at the side. Of course, I love pockets! Well, I have to admit that after reading those instructions for the 3rd time, I had to click on the link to watch the video…But that was a great help, hahaha.
But this is absolutely a beginner free pattern, all the 3 leggings patterns are) and it was quickly together. The waistband is lined and has a different back and front piece. I personally say: this is excellent! A waist isn’t straight, it need to be hugged and that’s what this waistband is doing! I applaud for that! The instructions are saying to sew elastic in, but with the thickness of my fabric it didn’t came out nicely. I took it off and it wasn’t necessary anyways. The lined waistband is holding perfectly without the elastic inserted.
My biggest tip: normally waistbands are sewed with having both the right side of the fabric on the outside. But when you use a fabric like mine, or other where the outer isn’t that comfortable, sew the waistband together with right side to wrong side and your lining waistband will sit on your bodice with the wrong, comfortable side
Then….it was time for trying it on! Well, as you can see the fit is spot on! It has a small wrinkle at the front crotch part, so I could take out a little bit of fabric the next time, but the legging is absolutely more then wearable. It is also the legging where I even have a kind of a butt!!!! (I am flatter then flat…;-))
Lenghtening it with 3″ was more then a good decision. It is exactly on my ankles. The top of the waistband is nice under my belly button and the bottom of the waistband above my upper hips.
I styled this legging with the Bonfire Hoodie from Sofiona Designs. A pattern designer with an eye for details and I really love. I put on some ankle boots and my outfit is more then okay for visiting friends, going to a bar or even a party.
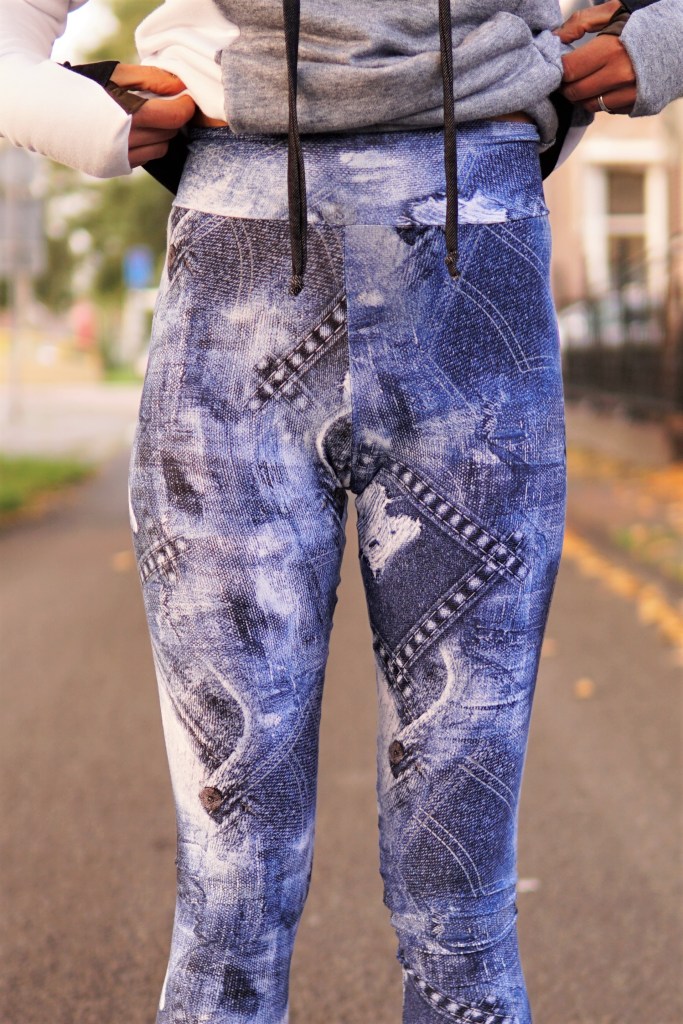
Max and Meena, the 20K Leggings

As I said, you can get this pattern for free when you join the Max and Meena facebook group.
I was already in that group, but also this pattern was my first from this company.
After reading the instructions, with a inseam number! (not much, just for which inseam it was drafted for, but more then enough for knowing that I had to lenghten the pattern 🙂 )
The nicest thing is the option for maternity too. Not that I need that anymore, I am finished thank you 🙂 but it is a great option though! Exactly like the G.O.A.T. I cut in between size XS and S, made the same adjustments and lenghten the pattern with 1″.
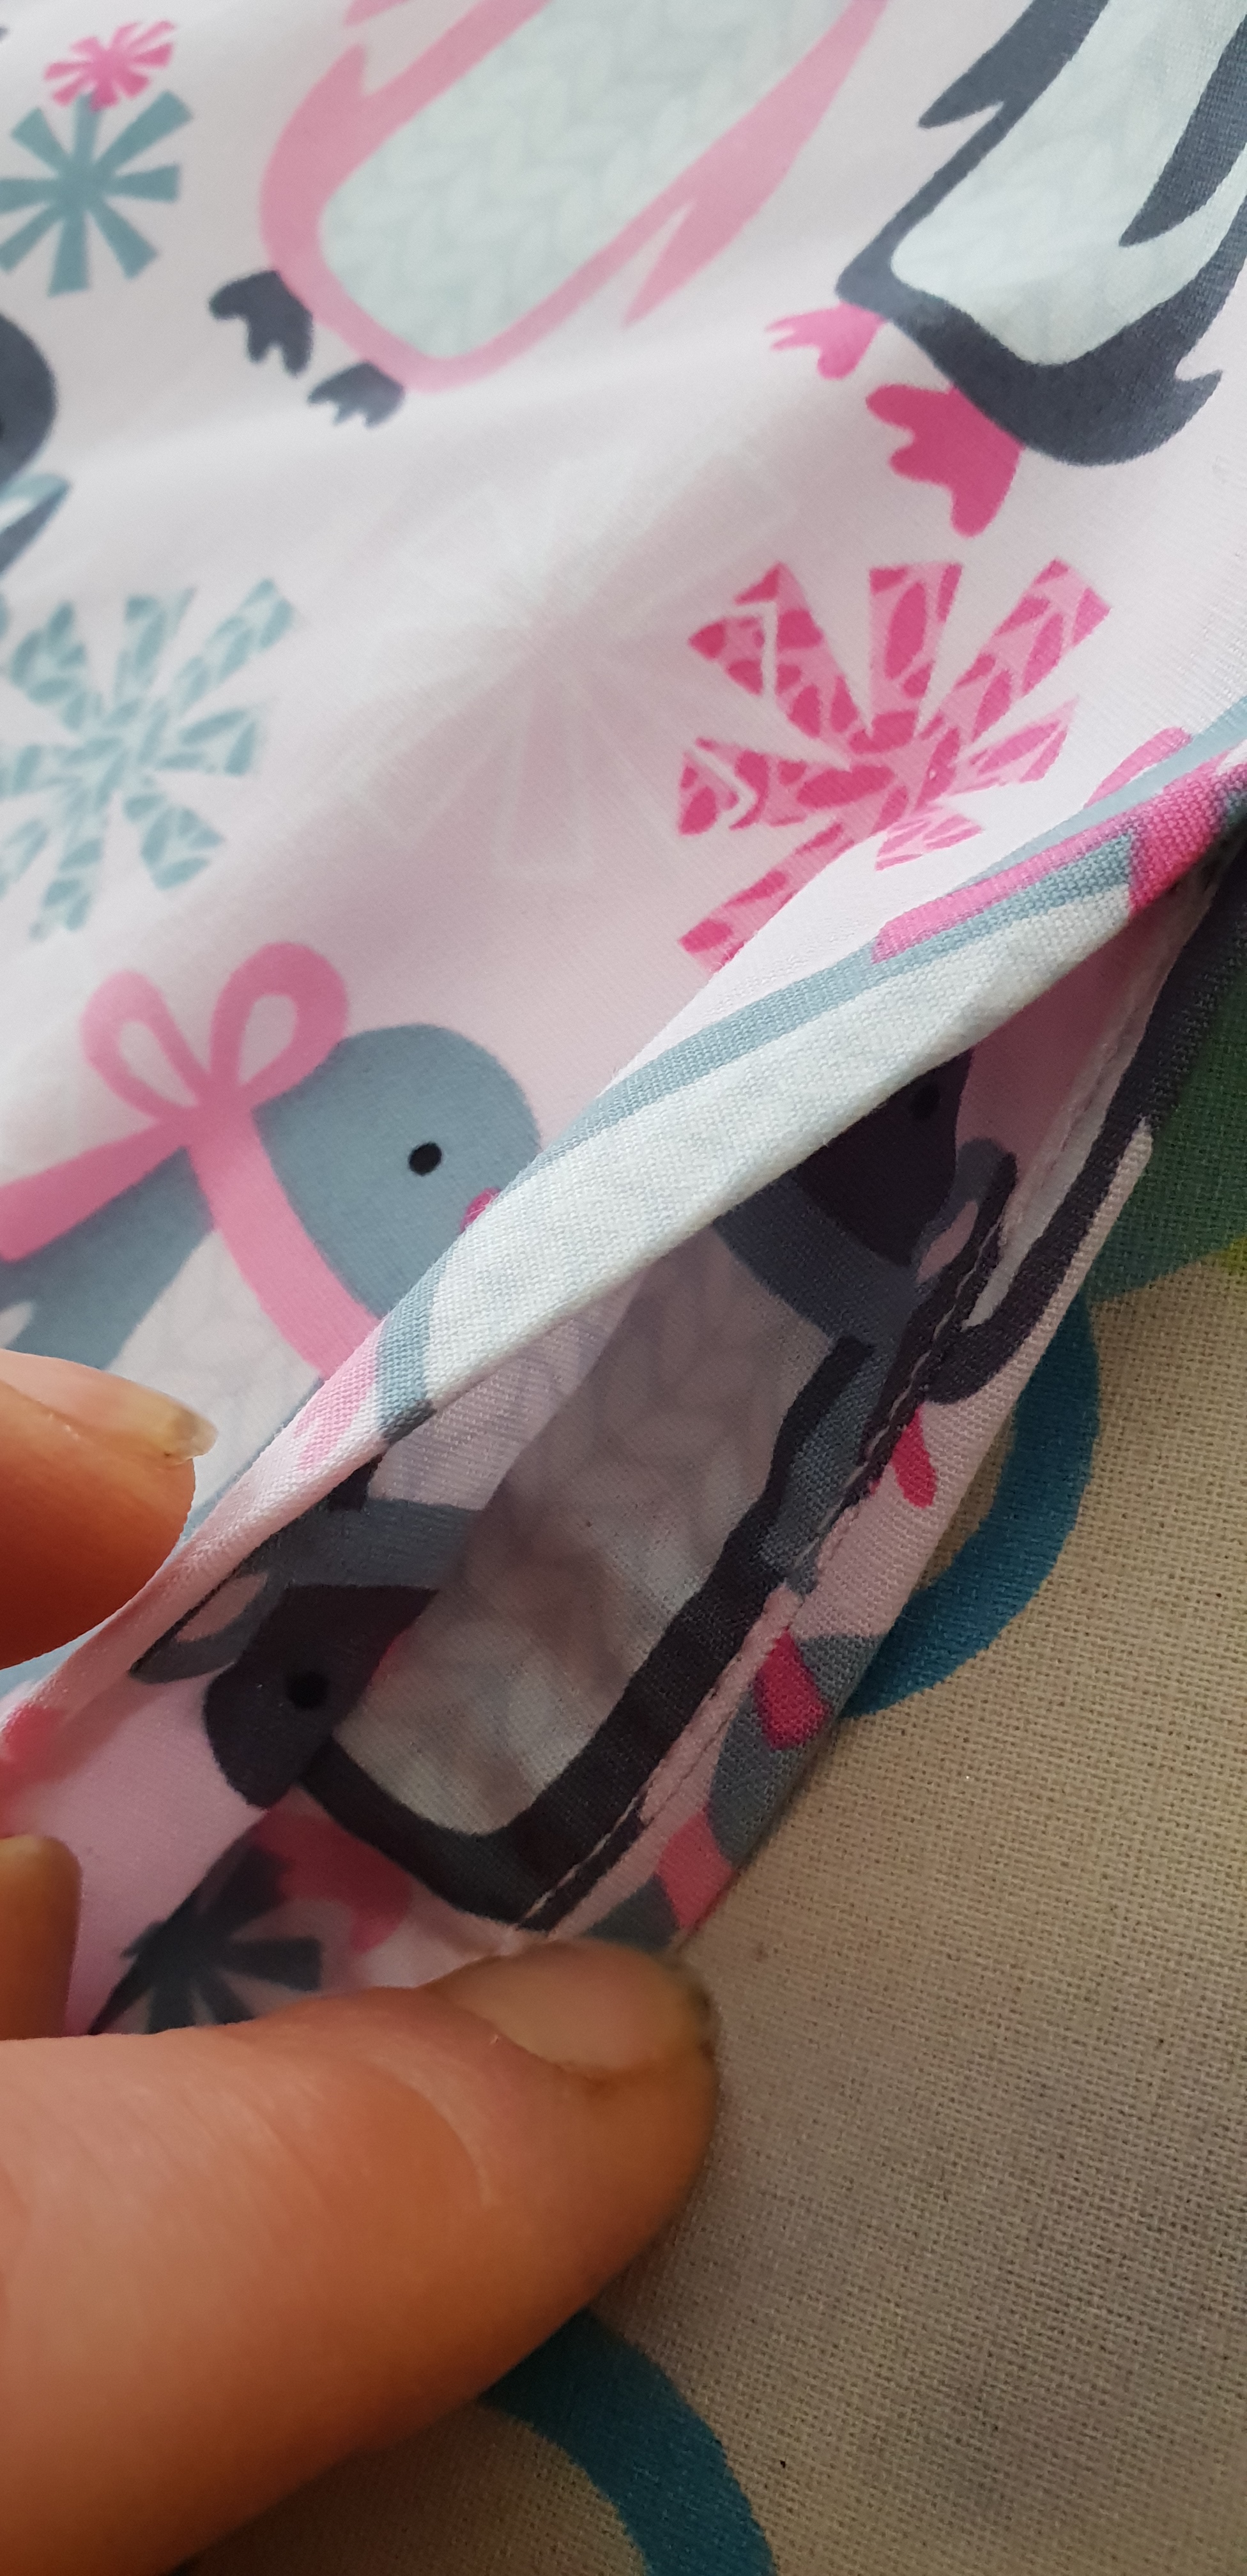
It has an option for a small coin/ key/ mp3 player pocket at the inside of the leggings. I didn’t made that one. It is too small for what I normally take with me, but I can imagine when you are doing some sports it can be practical.
This is a basic 1 pattern piece, easy peasy, just cut 1 mirrored, a rectangle cut on fold waistband and start sewing. No color blocking, no visible pockets but a: ‘it’s a legging pattern’
Well, that was a quick and absolutely more then beginner friendly sew. I used CL fabric for this one.
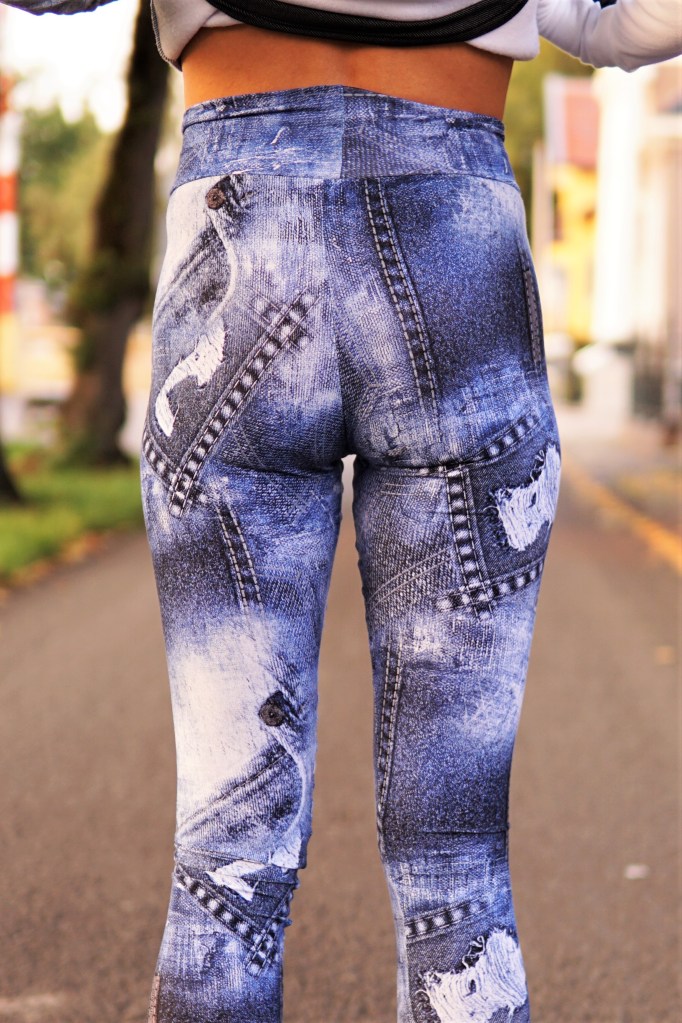
Time to try it on! Well, after I tried it on, I first went back to my pattern piece and double checked if I probably cut on to the wrong waist line (the maternity one) but no, I cutted correctly, but it’s sitting high! it’s above my natural waist. In comparrison with the G.O.A.T. my butt isn’t that nice looking in this one and it’s as flat as it is. Well, probably some sport could change that, hmmm 😉
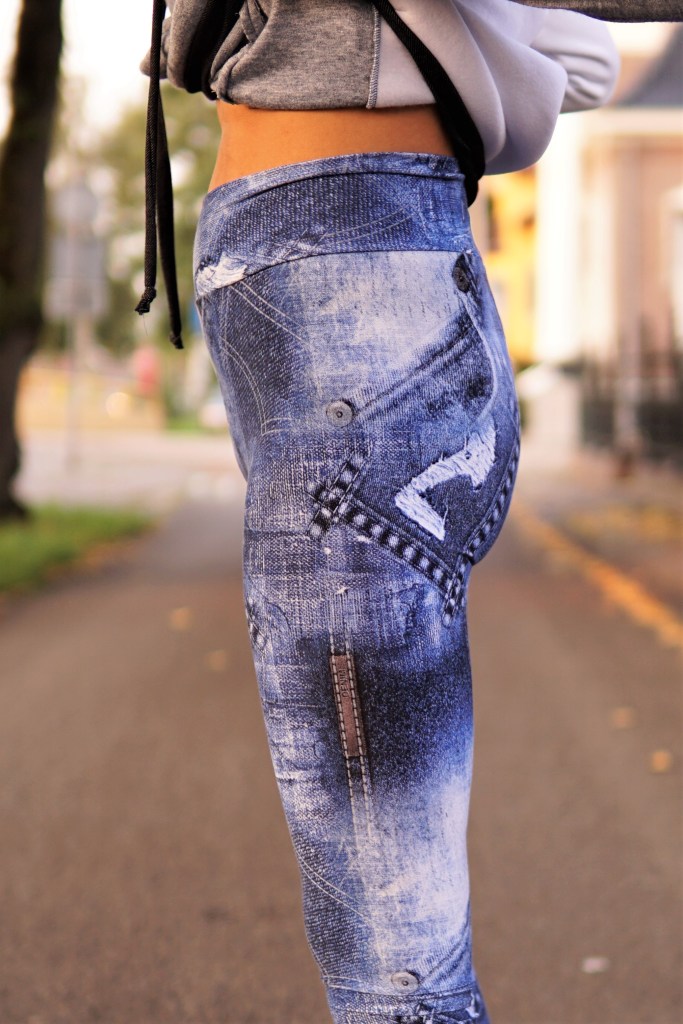
Anyways, after wearing this legging I have to admit the high waistband is unbelievably comfortable and I am going to wear this legging a lot!
The only thing I am not really happy about…I have a camel toe in this one. But there aren’t problems, only solutions and it’s all about the styling!
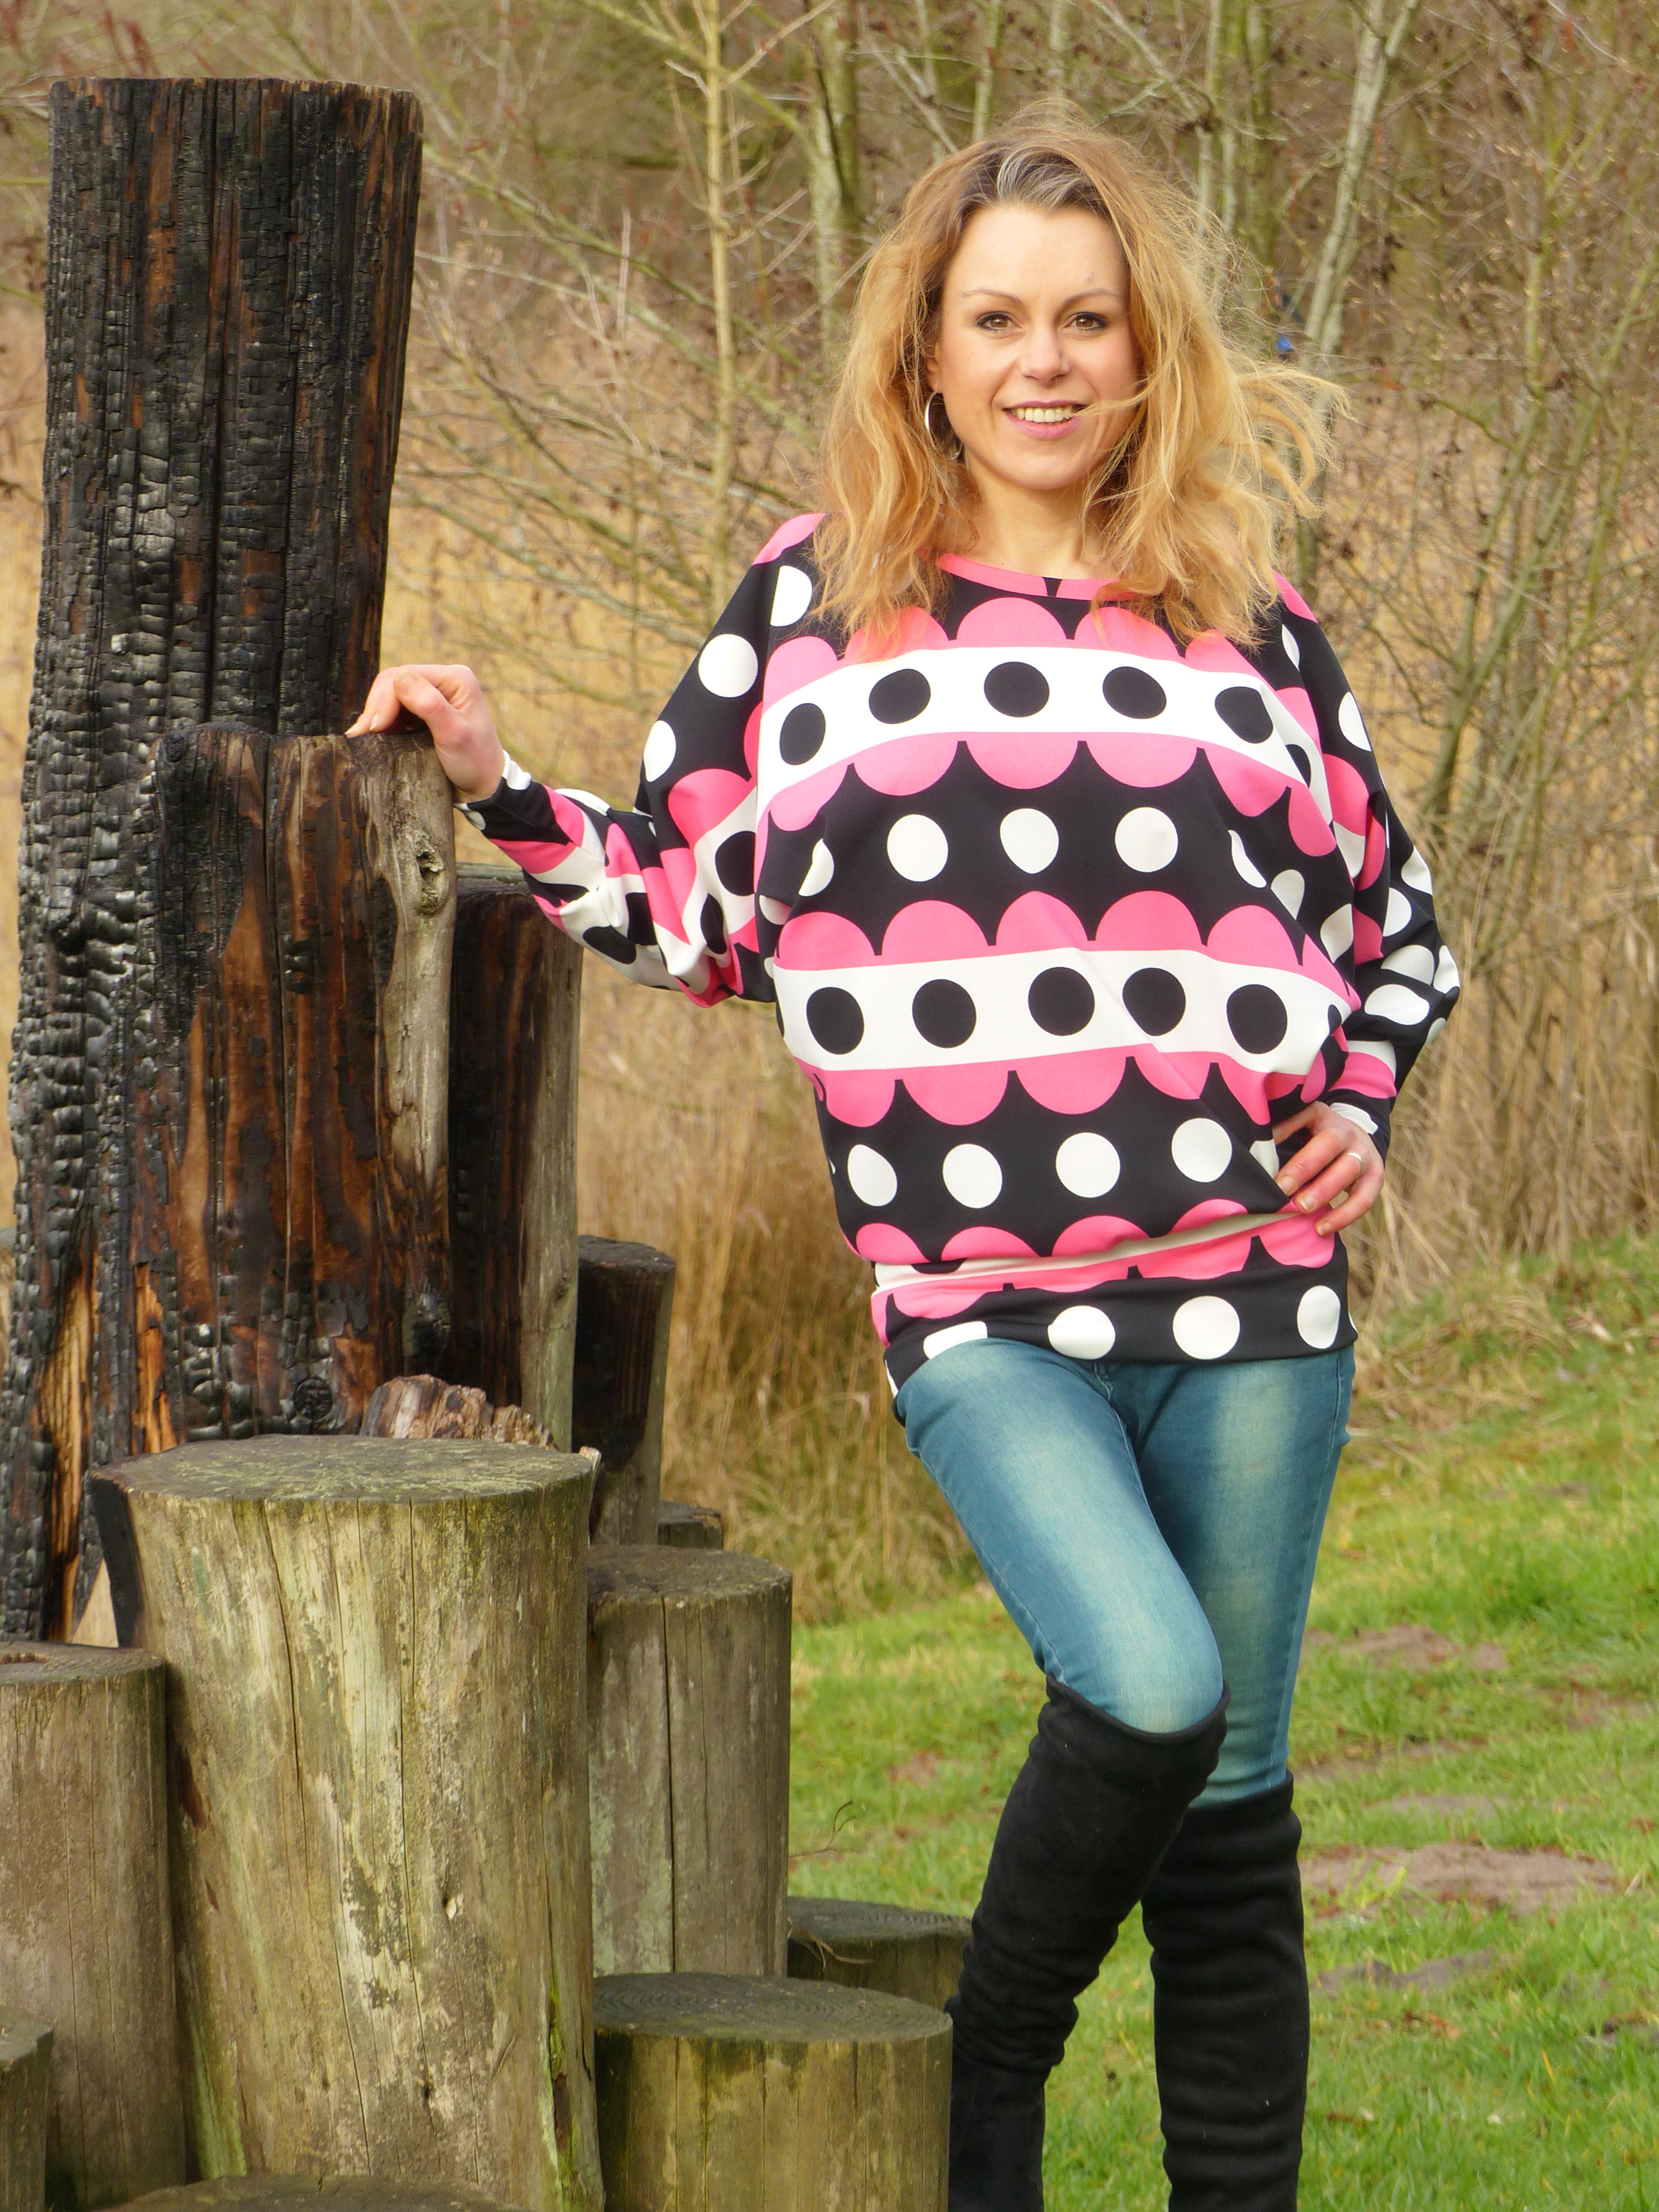
I decided to make the Lotte from Sinclair Patterns and I love, love, love this hoodie! It’s about leggings, but I just want to have it mentioned, this hoodie is awesome!
Well, in combination with my favorite knee boots, I am ready for a shopping day, a coffee with my best friend or a just sitting on the couch and feel comfortable 🙂
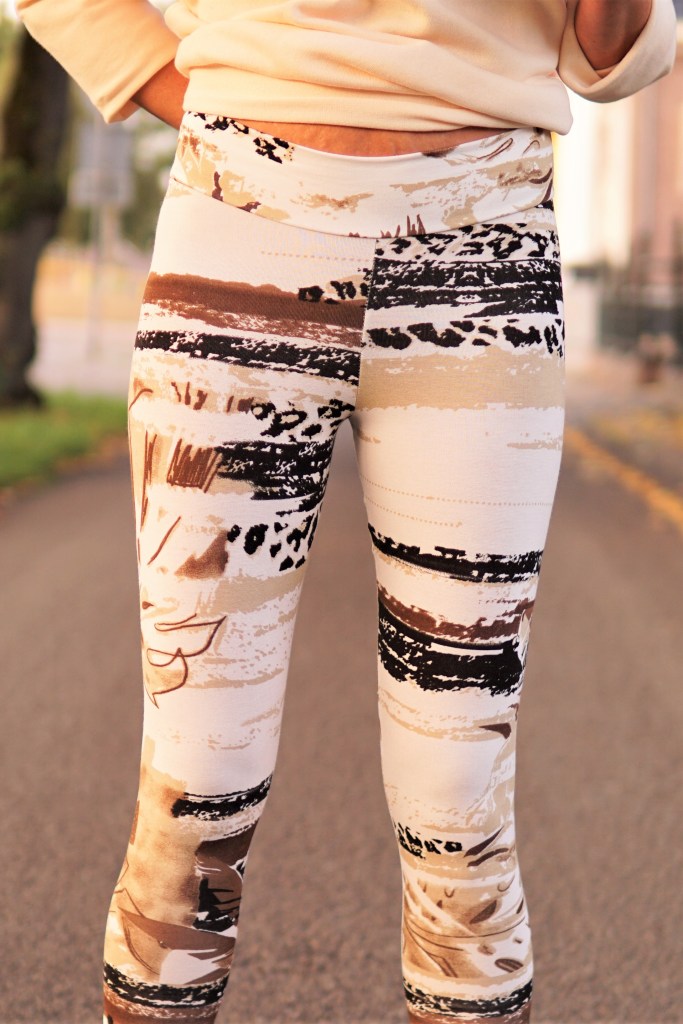
And the last one The Urban Legs Shorts and Leggings
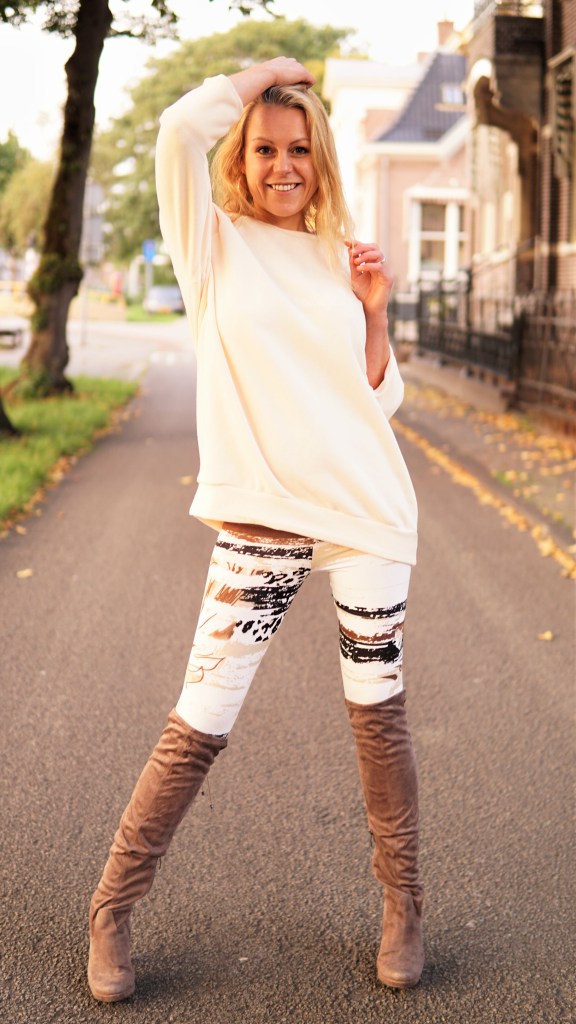


This pattern I didn’t had to print anymore, I sewed it many times. The pattern is quite the same as the Max and Meena, it is only 1 pattern piece, cut 1 mirrored and a rectangle waistband cut on fold.
There is a cutline for adding elastic instead of using a waistband too. Adding the waistband to that high waist cut line, will give you a high waisted leggings. i used the regular low cut line.
The difference between these 3 patterns is that this one has different inseam cut lines. I personally absolutely prefer that. It’s nice when it’s stated: drafted for a height…But that doesn’t say anything about the length from the legs. With pants knowing your inseam is a must.
This pattern also has a shorts option. Of course you can cut every legging pattern shorter, but it’s nice to know where to cut right? it has a basic pocket which you just have to sew on.
I used a viscose spandex for this legging and was finished pretty fast 🙂
I love the fit from this one, but I have to admit, my butt is looking nicer in my G.O.A.T. and the high waistband from the Max and Meena is more comfortable.
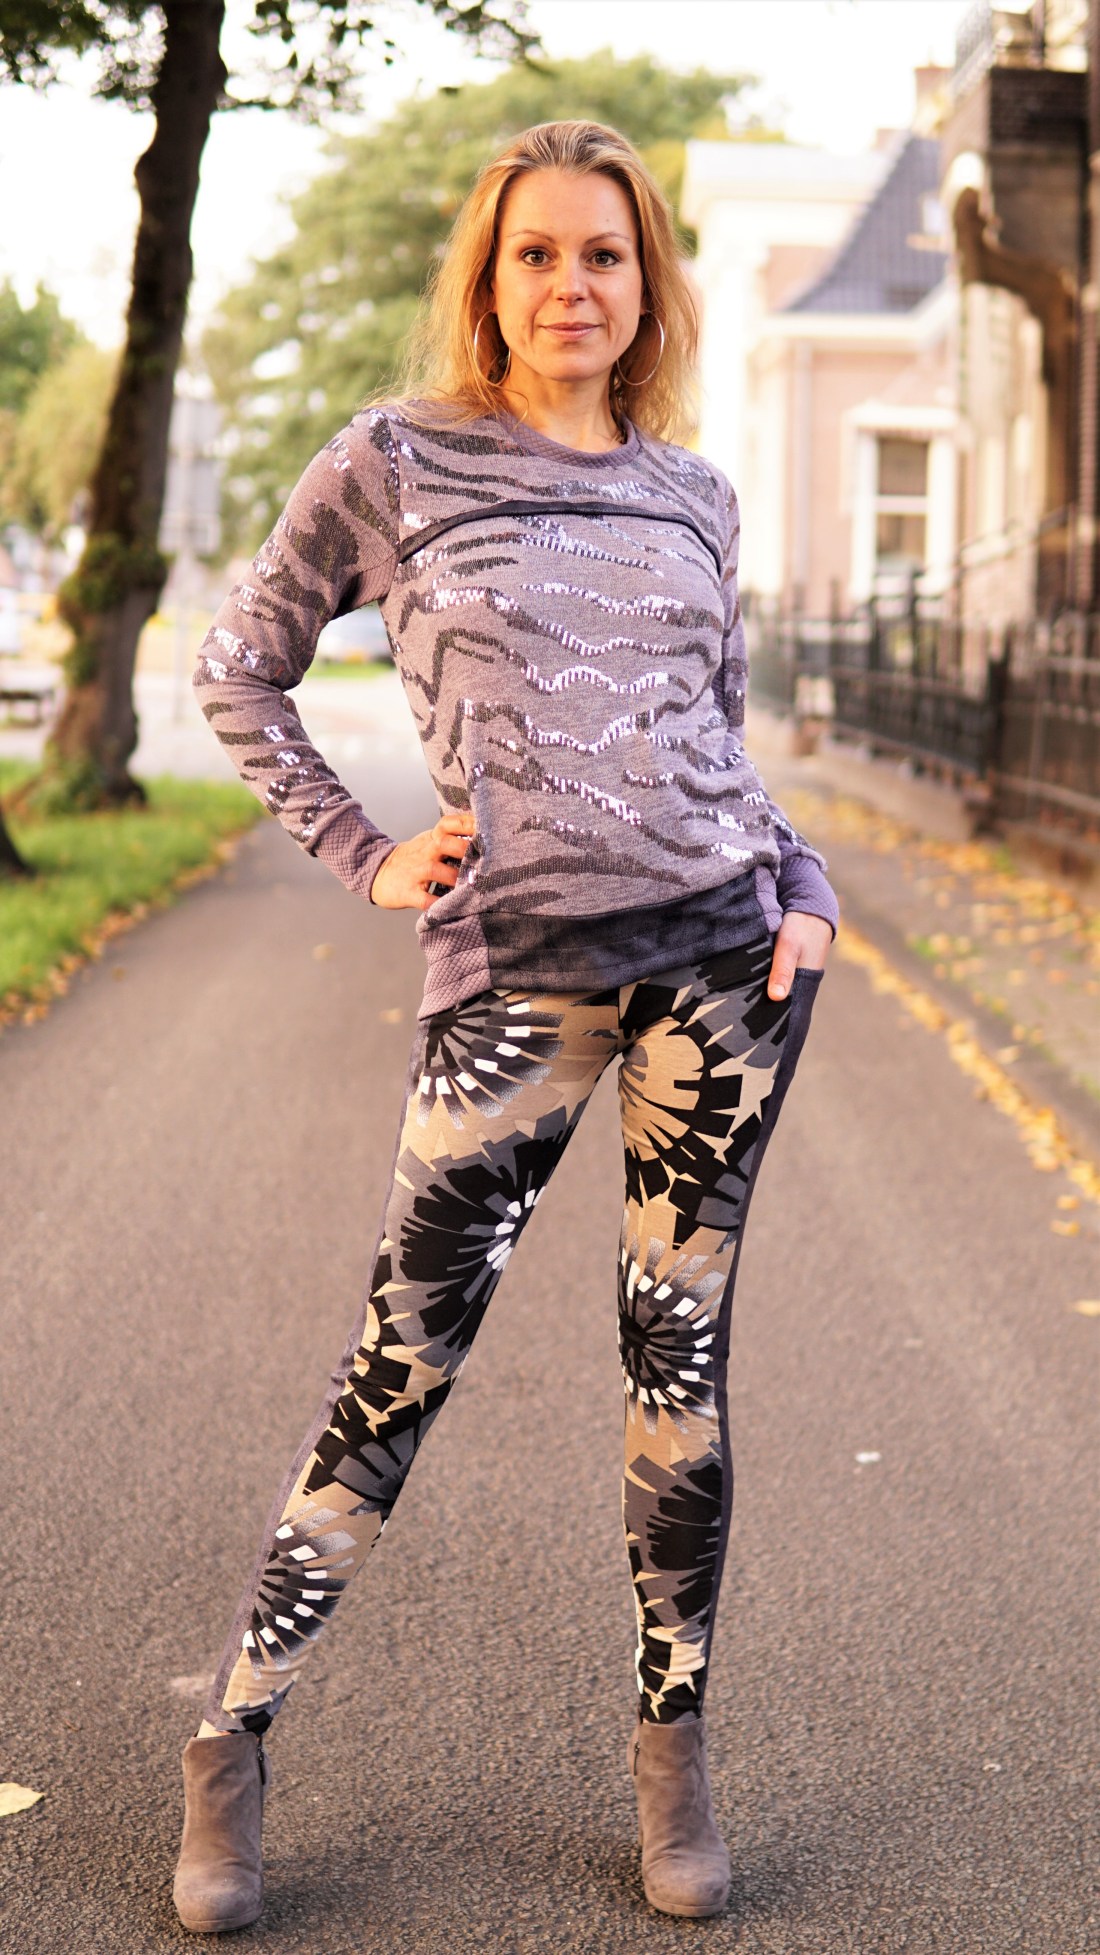
Between my fabrics I found a super cozy plain sweat fabric I got once and had no idea what to do with..Till now! I made the new Raglan Straight Fit, also from Ellie and Mac. (affiliate link) This pattern is drafted on the Male body with a height from 5.10′. I left the length as it is, sized up with 2 sizes and ready is my oversized sweater for wearing with my leggings. Again my favorite boots and I am ready for the whole day!
Well, Conclusion:
It’s hard to say which legging pattern is better then the other. The G.O.A.T. has color block options which the others don’t have. As you could read in my blog the options and instructions differs, but at the end I have 3 new leggings which I would wear all!
G.O.A.T. Plus:
Shaped waistband
Perfect for scraps too
Built in pocket
Lot’s of variations possible
G.O.A.T. Minus:
No non color block option
No inseam chart
20K Plus:
Easy and fast sew
High waisted
Maternity option
Free pattern
20K Minus:
Really Small pocket
High waisted:-)
Only 1 inseam measurement
Urban leggings Plus:
Easy and fast sew
Different inseam cut lines
2 waist options
Urban leggings Minus:
sewed on small pocket
Life is short, sew the leggings
me, based on another quote
Huge thank you to RAD Patterns for sponsoring this month’s experiment by providing us with the G.O.A.T. leggings (Greatest of all time). Stephanie has kindly provided a discount for you to try the G.O.A.T. pattern, available in the announcements of Friends of the Fitting Experiment. Check out the group to see how others made out with the leggings. You can also visit the bloggers for their full review by following the links below:
And, which one are you going to try first?
Have a look at my Instagram for more inspiration. 🙂